
Getting started
AutoC is an AI assistant for AUTOSAR BSW configuration. Install once, start from your project directory, log in, then drive EB tresos, DaVinci, ETAS, and other toolchains in natural language.
1. Install
| Platform | File |
|---|---|
| Windows x64 | autoc-windows-x64.zip |
| Linux x64 | autoc-linux-x64.tar.gz |
| Linux ARM64 | autoc-linux-arm64.tar.gz |
Windows: Unzip (e.g. to D:\software\autoc-windows-x64) and add to PATH. Install Windows Terminal. Bash setup: Windows setup.
Linux: chmod +x autoc, add its directory to PATH.
2. Start from the project directory
Working directory = the folder your terminal is in when you launch (shown in the footer). cd to the project root, then run autoc — no need to copy autoc into each project.
cd D:\projects\my-eb-project
autoc
The footer should show the project path. If it shows the autoc install folder, quit, cd to the project root, and try again.
3. Log in
AutoC uses WhyEngineer for models (third-party API keys are not supported yet).
- Register at api.whyengineer.com (new accounts get 100M tokens)
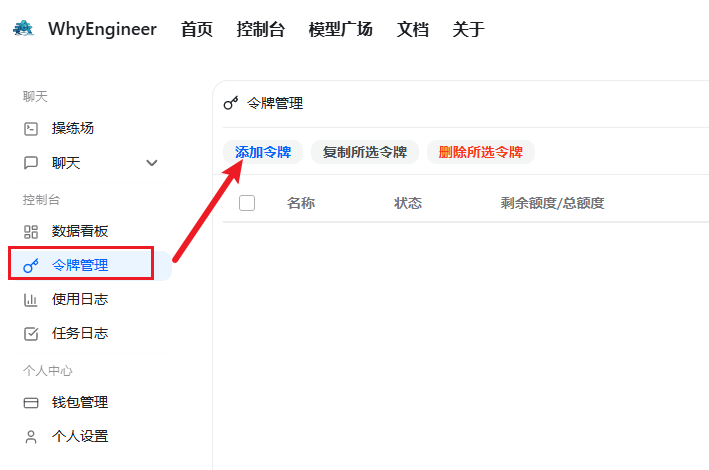
- Console → Tokens → Add token, copy the API key
- Type
/loginin AutoC and paste the key
Use /model or Ctrl+P to switch models. Enterprise LLM: Enterprise licensing.
4. Connect your BSW project
Configure your toolchain from the project root, then /reload:
| Toolchain | Guide |
|---|---|
| EB tresos | EB tresos |
| DaVinci Configurator (Beta) | DaVinci Configurator |
| ETAS ISOLAR (Beta) | ETAS ISOLAR |
When the startup area shows a project summary, you are ready. Daily use: Using AutoC. Issues: Troubleshooting.
Next steps
- Using AutoC — UI, slash commands, CLI
- Settings —
/settingsand JSON field reference - Sessions — resume, fork, export
- AutoC Web — browser UI